The Tourplan NX Bank Reconciliation main function is to reconcile the Tourplan NX bank account(s) with actual bank statements.
Bank Reconciliation
-
From the Home menu, select
 Financials > Accounting > Bank Reconciliation.
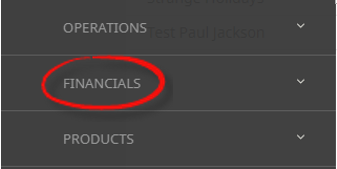
- Click the Home Menu to expand it:

- Click the Financials menu option to expand it:

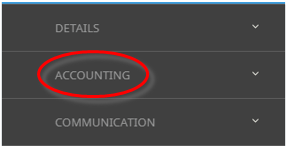
- Click Accounting to go to the Accounting menu to expand it:

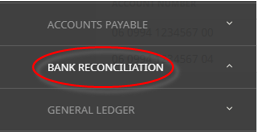
- Click Bank Reconciliation to go to the Bank Reconciliation screen:

- Click the Home Menu to expand it:
-
From the list of available accounts, select by clicking on thePhysical Bank Account to be reconciled.

-
The Bank Account screen will display with the Reconciled Pages tab open. To start a new reconciliation page, clickInsert.

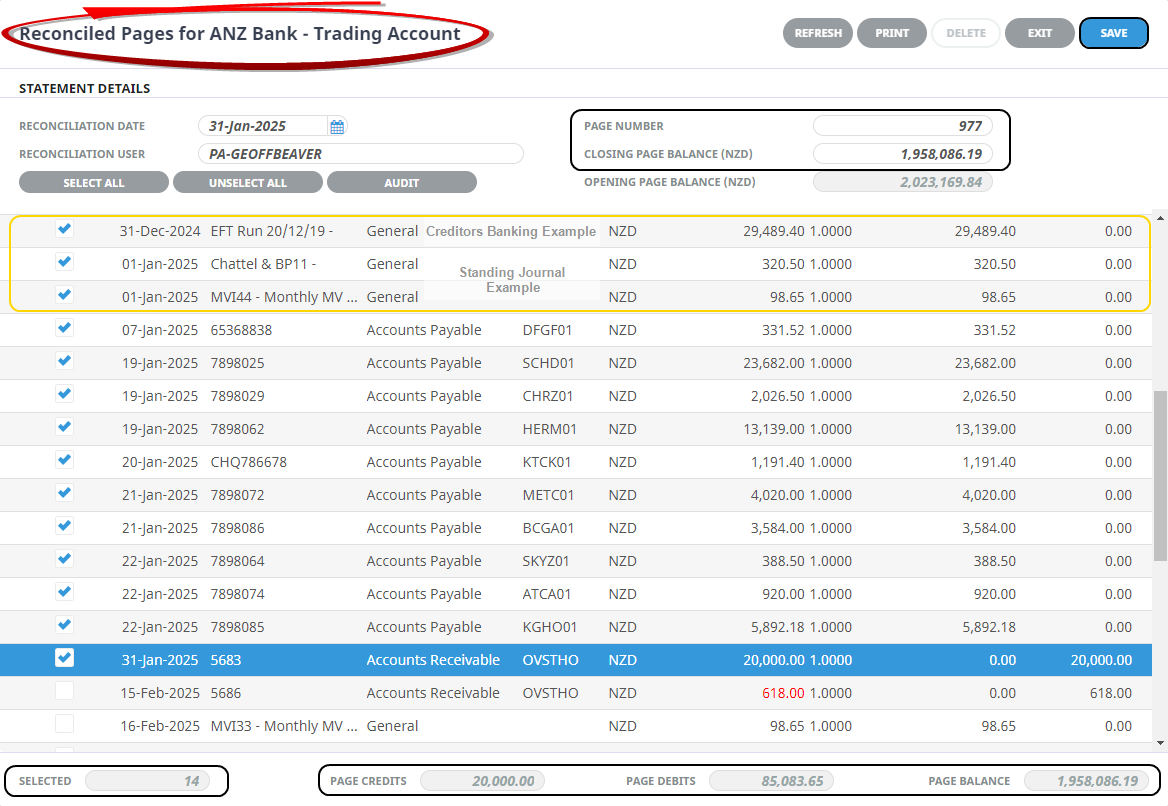
- The un-reconciled transactions will display. The Reconciliation Date should be changed to match the closing date of the bank statement being reconciled. The Reconciliation User is login name of the user performing the reconciliation, and the Closing Page Balance figure should be entered as the closing page balance of the bank statement being reconciled.
-
Tag the on-screen transactions that appear on the bank statement and when completed, ensure that thePage Balance at the bottom of the screen matches the Closing Page Balance at the top of the screen. The page can not be saved until the two figures balance.
-
ClickSave to keep the changes.

-
ClickExit to discard any changes.


About Bank Reconciliation Fields
Reconciliation Date
The Closing Date of the bank statement.
Reconciliation User
The user who is logged into Tourplan will display here. The user can be overridden to another user if required.
Page Number
The Page Number will automatically increment by 1 from the previous reconciliation. It can be edited.
NOTE: This should match the page number of the bank statement being reconciled. The page number can be edited, but only if the accounting period the reconciliation is for is in an open period.
Closing Balance
NOTE: The closing page balance of the physical bank statement must be entered and must equal the Page Balance at the bottom of the Reconciliation Page before the reconciliation can be saved.
Transaction Selection List
The un-reconciled transactions display. Tag those that also appear on the physical bank statement. As transactions are tagged, the count of them is displayed in the Selected Field at the bottom of the screen, as is a running total of Page Debits, Page Credits and the Page Balance.
When all transactions from the physical bank statement have been located in the list and tagged and the Page Balance equals the closing page balance, the reconciliation can be saved.
Buttons
- Print - Once the reconciliation has been saved, the Print Button becomes active. Is used to print a reconciliation page report.
- Save - Will save the reconciliation.
- Exit - Will exit you out of the reconciliation.
- Audit - When used the currently highlighted transaction component lines will display.