Localities can be used in Tourplan to split locations into specific areas. In the example procedure the locality has been used to split locations into generic areas such as APT- Close to the Airport, BCH - Beach Area or CTY - City Centre. Localities can be used to identify specific areas of a location; for example if the location is Sydney, the localities could be BON - Bondi Beach, ROK - The Rocks, or MAN - Manley.
There are three steps required when creating Localities:
- first the locality will need to be created in Code Setup
- second step is to link the locality to the location also in Code Setup
- third step is to open the product and attach the locality to the product.
Within bookings and quotes, the search for services is by Location, Service Type (and Supplier if necessary). Once a list of qualifying services display, they can be filtered by locality.
Create a Locality
-
Select menu
 Home > System > Code Setup.
- Click the Home menu to expand it:

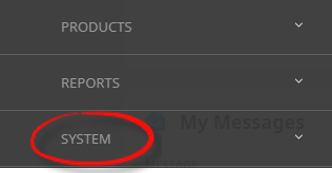
- Click the System menu option to expand it:

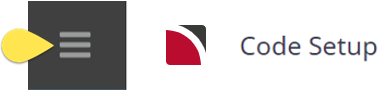
- Click Code Setup to go to the Code Setup menu:

- Click the Home menu to expand it:
-
Select menuCode Setup > Product > Locality.
- Click the Code Setup Menu to expand it:

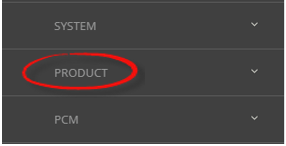
- Click the Product menu option to expand it:

- Click Locality to open the Locality screen:

- Click the Code Setup Menu to expand it:
-
On theLocality screen, if the code required is not already in the list, click Insert or select the locality from the list.

-
On theLocality screen, enter a Code and a Description.

- Review the completed screen.
-
ClickSave to keep the changes.

-
ClickExit to discard any changes.


NOTE: After clicking Save, the screen clears, ready for another Locality - continue adding Localities or click Exit to close the screen.
About Locality Fields
![]()
Code
A 3 character code for the Locality.
Description
The Locality description, this field can be up to 40 characters.
Attaching Localities to Locations
This is the second step to setting up localities. Localities belong to locations. This means that for the locality (e.g. CBD) to be able to be used as a filter for products, in the first instance it needs to be attached to each Location in the system that has a CBD.
When the above procedure has been followed and localities have been inserted into Code Setup, the localities will then need to be linked to their required locations. If this has not been done the locality will not come up in the Product application for users to select the product locality.
NOTE: Not all locations will need to use localities, attachment of localities to locations will be dependant on user companys use of these fields.
-
Select menuHome > System > Code Setup.
- Click the Home menu to expand it:
- Click the System menu option to expand it:
- Click Code Setup to go to the Code Setup menu:
- Click the Home menu to expand it:
-
Select menuCode Setup > Product > Location.
- Click the Code Setup Menu to expand it:
- Click the Product menu option to expand it:
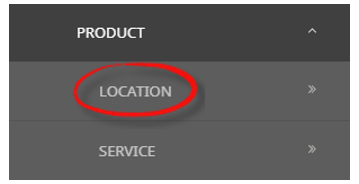
- Click Location to open the Location screen:

- Click the Code Setup Menu to expand it:
-
On theLocation screen, if the code required is not already in the list, click Insert or select the location from the list.

-
On theLocation screen, use the
 button to move the required localities from the available localities column to the included localities column.

- Review the completed screen.
-
ClickSave to keep the changes.
-
ClickExit to discard any changes.
NOTE: After clicking Save, the system returns back to the list (if selection had been made from an existing Location). If insertion of a new location occurs after clicking Save, the screen clears, ready for another Location.
Continue linking localities or click Exit to close the screen.
Attach Localities to Product
The remaining step is to attach Localities to Products in the Product Database.
Create or search for existing product - instructions on how to search for existing product is covered in more detail within the Product User Manual .
When the product is open, select product details from the product setup menu, open the product tab and select the required locality from the dropdown.
