This screen enables free format notes (and/or graphics) to be stored against the agent. Information stored within a note category can be used as an internal note or can be used in documentation.
![]()
When note categories are set up, they can have multiple note entries or single note entries per category and templates per category can also be set up.
Add Agent Note
- Make sure the required debtor / agent is displayed (see Create a New Debtor or Retrieve an Existing Debtor).
-
From the Debtors menu, select
 Details > Notes.
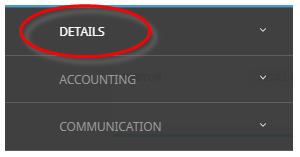
- Click the Debtors menu to expand it:

- Click Details to expand the

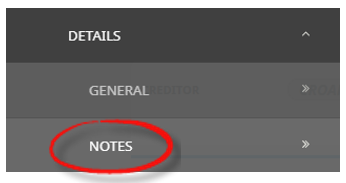
- Click Notes (expand Details if necessary) to open the Debtors Notes list:

- Click the Debtors menu to expand it:
-
On theDebtors list screen, click Insert.

-
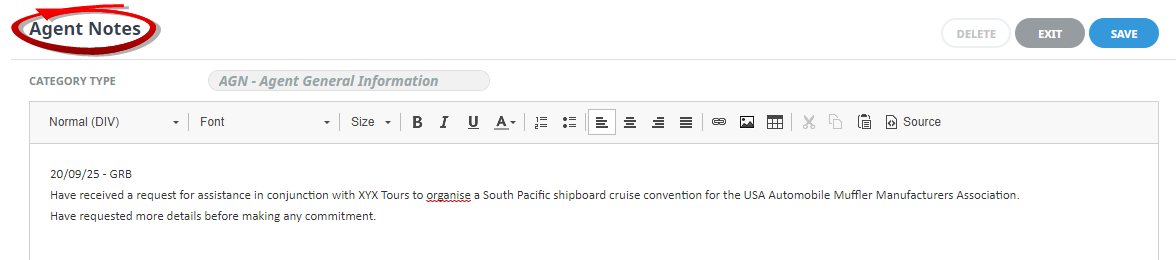
On theAgent Notes screen, select a Category Type and enter text in the body of the note (the body is a rich text field - as well as formatting, graphics and tables can also be inserted).
-
ClickSave to keep the changes.

-
ClickExit to discard any changes.


Agent Note Categories
Debtor note categories must be setup via Code Setup > Messaging > Notes prior to entering agent notes. Full details on note categories are given in the System Setup User Manual.
NOTE: Formatting is important when inserting details for documentation etc. Any information that will be displayed to agents must be inserted consistently, as this information will display on messages exactly as has been entered within the notes field.
-
The Note Category (in Code Setup) will need to be set to 'Include in Messaging' for the text to be able to display in generated messages.
Available categories for Debtors in the standard database system are:
|
Code |
Description |
Category Type |
|---|---|---|
| AFI | Accounting / Finance Notes | Debtor |
| AGN | General Notes | Debtor |
| AGR | Agreements | Debtor |
| AMV | Meeting / Visit Notes | Debtor |
| ATC | Traveller Complaints | Debtor |
NOTE: In the table above:
- Category Types 'Debtor' are Debtor Notes that are available for editing only in the Debtors application.
- Viewing of Debtor notes can occur from within bookings under the menu item Agent Notes.
If a note category displays that is not applicable to the debtor, leave the note blank.
As described in the procedure above, to enter a note, first highlight the required note category from the Category Type list, then click in the rich text editor section at the bottom of the screen and type a note. An alternative is to copy / paste information from an external source and edit it accordingly.
NOTE: When copying and pasting information, ensure that the text is first inserted into a Word document to strip the text into plain text before inserting (copy/paste) the text into Tourplan.
Multi Language Notes
If the multi language check box is enabled for the defined note category in Code Setup > Notes a language selection will be available to insert language translation text per language.
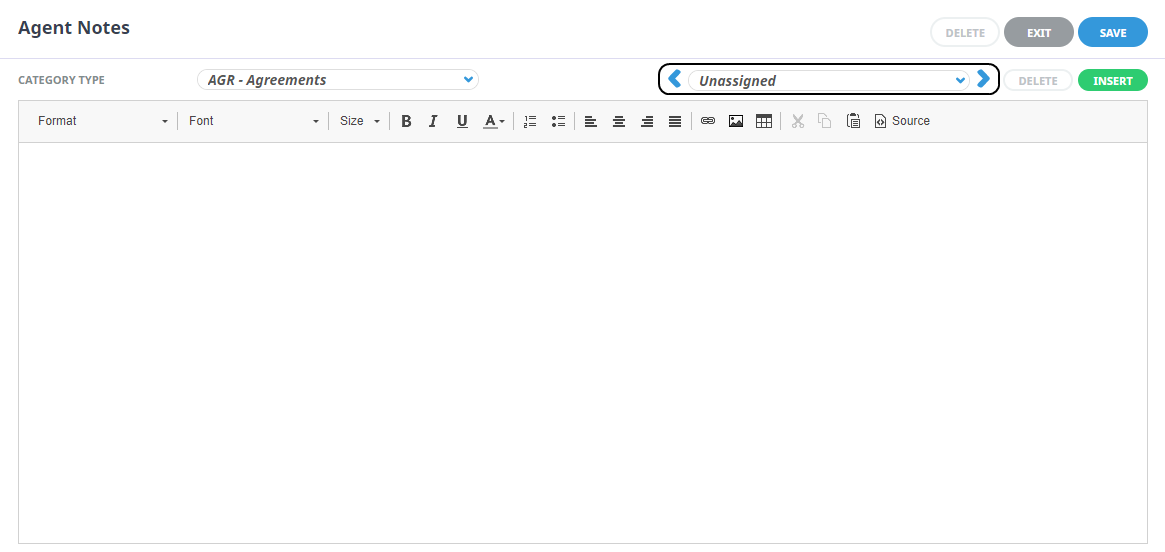
To insert notes for multiple languages, click the insert button next to the language. A Language selection screen will display for users to define the language assigned to the note text.
NOTE: Organisations can insert as many languages as they use.
Viewing alternative language note content
The arrows to the left and right of the language field allow users to view and edit alternative language note entries, and a dropdown selection can be used to display a specific language note entry.