The Debtor Banking application can be found in the following menu selection Main Menu > Financials > Accounting > Accounts Receivable > Banking.
There are two functions of this application:
- To produce a consolidated banking value for the bank reconciliation program.
- To optionally produce a banking supplement report.
Whether this application or process needs to be run is entirely dependent on how the user company's bank processes multiple item deposits or withdrawals.
Debtors Banking
As an example, 5 cheques are to be physically banked (not direct credited), and a deposit form is filled out detailing the 5 cheques.
If the physical bank statement shows the total sum of the 5 cheques as one line, then debtors banking should be run to consolidate the 5 receipts in Tourplan NX into one line for the bank reconciliation.
If the bank statement shows the individual value of each cheque, then debtors banking will not have to be run since the separate Tourplan receipts will be displayed in the bank reconciliation.
Create a Banking Transaction
The Debtors Banking program are accessed from the Accounting application.
On entry to the Banking Transaction program, there are From/To date filter selection fields to find and scroll existing bankings. They default to the current date.
-
From the Home menu, select
 Financials > Accounting > Accounts Receivable > Banking.
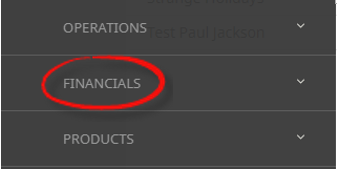
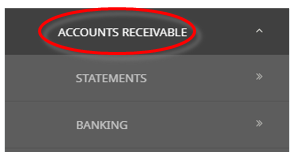
- Click the Home Menu to expand it:

- Click the Financials menu option to expand it:

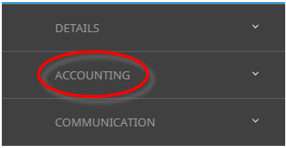
- Click Accounting to go to the Accounting menu to expand it:

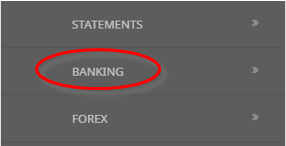
- Click Accounts Receivable to go to the Accounts Receivable menu to expand it:

- Click Banking to go to the Banking Transaction (Accounting filter) screen:

- Click the Home Menu to expand it:
-
Select Banking Date From/To, select the required Currency and clickFilter.

-
ClickNew Banking.

- The Transaction Selections screen will display with the Filter tab open.
- On the Transaction Selection Filter Tab, enter the required detail to set the Transaction search criteria. Selections can be filtered by:
- Date Entered From/To
- Account Name & Number
- Currency
- Transaction Date From/To
-
Within the Transaction Selection Filter Tab, select the required payment type(s) by checking all, or specific Payment Type. If G.L. Banking Transactions are to be included in the banking, select Transactions From General Ledger.
-
When selections are complete, click eitherSearch or the Results Tab to view the selected transactions.

-
In the Results Tab, Click Select All to select all displayed transactions, or individually select them using the Check Boxes next to the Code column. To Unselect all transactions, clickUnselect All to select individual transactions.
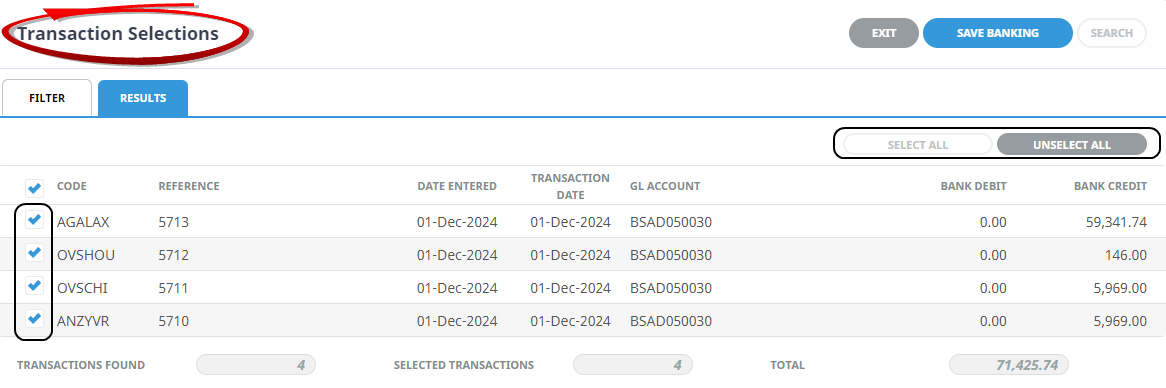
-
ClickSave Banking to keep the changes.

-
The save banking Entry screen displays. Enter aBanking Date, enter a Reference to identify the banking and select the Banking Completed checkbox if the banking is completed.
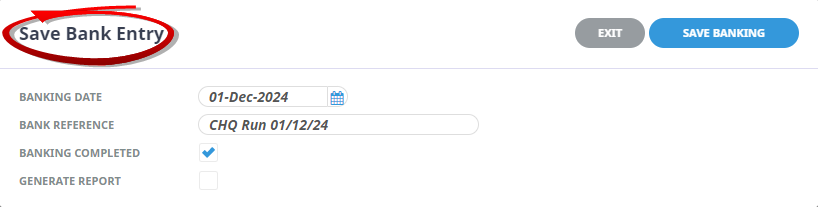
-
ClickSave Banking to keep the changes.
-
ClickExit to discard any changes.


About Banking Transaction Fields
Filter Screen
When ![]() Filter is clicked, any bankings which meet the filter criteria will display. If the Banking Completed box has been checked, the banking contents can be viewed, but not edited.
Filter is clicked, any bankings which meet the filter criteria will display. If the Banking Completed box has been checked, the banking contents can be viewed, but not edited.
.png)
Banking Date From/To
Set the date filters to search for transactions to be included in the banking.
Currency
Select the currency matching the transactions to be included in the banking.
Transaction Selection Screen
- Filter Tab
The Transaction Selection screen displays with the filter tab highlighted.
Date Entered From/To
Enter the Entered Date range that will encompass the transactions to be included in the banking.
Transaction Date From/To
Ensure that a transaction date range is entered that is wide enough to include the transaction dates entered in the fields above.
Account Name/Number
Selecting the (physical) Bank Account that the banking is to be applied against from the drop-down will also select the Account Number. Selecting the Account Number will also select the Account Name.
NOTE: The physical bank details have specific Tourplan NX G.L. Bank Account numbers attached to them (see Bank Reconciliation Setup), and only transactions with those G.L. Bank Account numbers will be selected.
Receipt Types Section
By default the system includes all receipt types. They can be limited by checking only the types to be included in the banking.
Transactions From Section
In Debtors banking, Debtors is checked by default. In addition, transactions that have been entered via GL Journals to the Tourplan GL Account(s) attached to the bank account can also be included if necessary by checking the General Ledger check-box.
- Results Tab
About Save Banking Entry Fields
Banking Date
Enter the date on which the transactions were banked. This date will display in the Bank Reconciliation program.
Banking Reference
Enter a reference for the banking. This reference will display in the Bank Reconciliation program.
Banking Completed
If unchecked this banking will be left open for transactions to be added or deleted. Once checked, the banking can not be amended.
Generate Report
If checked, a Print banking Supplement Report screen will display which will allow for viewing of the banking supplement report showing booking references or summarising any payment/receipt lines where appropriate. It also allows for this report to be downloaded as a PDF or CSV file.
About Print Banking Supplement Report Fields

Show Booking Reference
If checked the output report will include booking reference details for each payment/receipt line where appropriate.
Summarise by Payment/Receipt Type
If checked the output report will summarise each transaction into one payment/receipt line.
NOTE: If both check-boxes are selected the Summarise by Payment/Receipt type choice will override the Show Booking Reference choice and summarise the output report.