Print Debtor Receipts
When bookings and sundry invoices have been paid by agents and the receipting process completed, receipts can be printed. They can be output from within Debtors as the receipt is saved, or they can be printed in bulk from here.
Print Receipts
-
From the Home menu, select
 Financials > Accounting > Accounts Receivable > Print Receipts.
- Click the Home Menu to expand it:

- Click the Financials menu option to expand it:

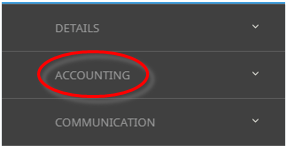
- Click Accounting to go to the Accounting menu to expand it:

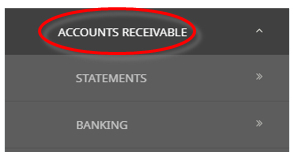
- Click Accounts Receivable to go to the Accounts Receivable menu to expand it:

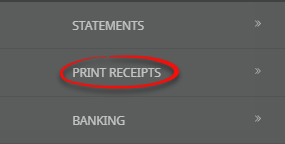
- Click Print Receipts to go to the Print Receipts screen:

- Click the Home Menu to expand it:
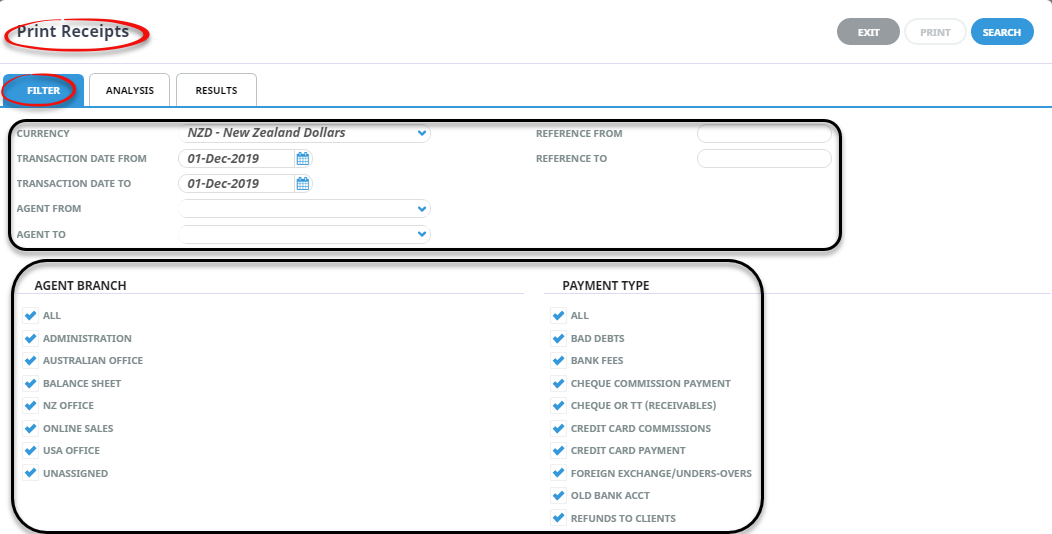
- The Print Receipts screen will open with the Filter Tab open.
- On the Print Receipts Filter Tab screen, enter the required filters to set the Receipt search criteria. Selections can be filtered by:
- Currency (mandatory)
- Transaction Date From/To
- Transaction Reference From/To
- Agent From/To
NOTE: The currency is the minimum selection that can be made before the Search button becomes active.
- Within the Print Receipts Filter Tab screen, select by All, or specific Agent Branch and/or Payment Type. NOTE: This is the Branch and Payment Type of the Agent, not the Booking.
- Check the Completed Screen.
-
Select the Analysis Tab, and if required filter by the 6 Analysis Codes attached to Agents. When the Analysis Tab is accessed, the available selections are in collapsed mode. Click the
 to expand the selections and the
  to expand a drop-down.
For example:

NOTE: When a selection has been made with an Analysis Code, and the selections are collapsed, an * appears next to the Analysis Code name.
-
When selections have been completed, clickSearch, to display results.

-
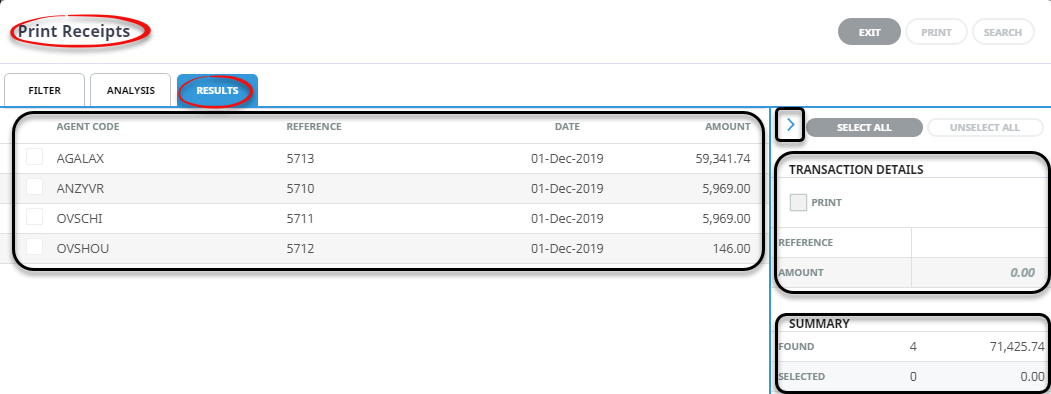
Or select theResults Tab. Any Receipts found that meet the filter criteria will display.
NOTE: The
 to the left of the Select All/Unselect All Buttons can used to hide the side panel. When the side panel is hidden, the Right Arrow is replaced by a Left Arrow
  which can be used to reveal the panel.
-
-
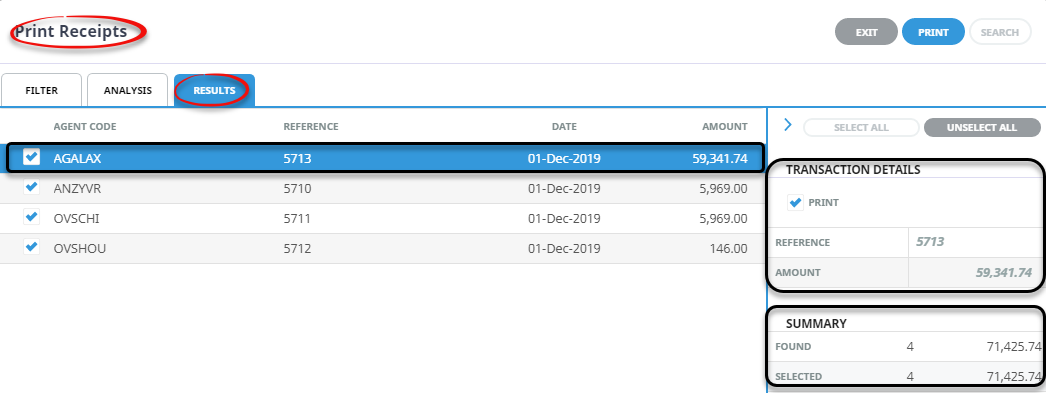
ClickSelect All to select all transactions.

-
Or, Select the receipts to print by clicking the requiredCheck-box(s), and select the print button.
NOTE: The
to the left of the Select All/Unselect All Buttons can used to hide the side panel. When the side panel is hidden, the Right Arrow is replaced by a Left Arrow which can be used to reveal the panel.
-
- Check the Completed Screen.
-
ClickPrint to output the Document.

-
TheOutput Documents screen will display.
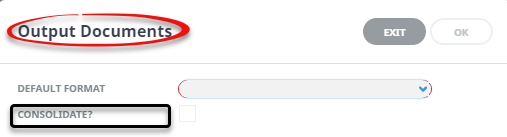
- Select the required Format the drop-down list. To consolidate multiple receipt lines to one line, check the Consolidate check box.
-
ClickOK to keep the changes and save or update the entry.

-
ClickExit to discard any changes.

-
Thestandard Review & Send Document screen will display allowing the receipts to be downloaded. Once a valid email address is selected, the document can be emailed.
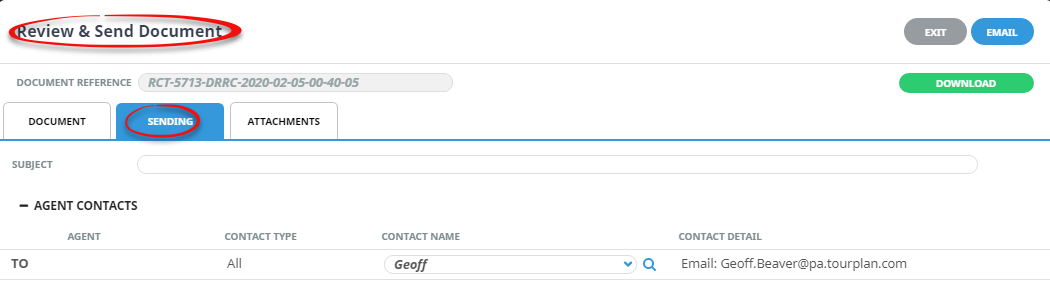
-
The receipt document can be viewed in the Document Tab


NOTE: If OK is selected from the Output Document screen, and the receipt output is complete, a summary screen will display advising success or failure of the output of each receipt. Select OK
About Print Receipts Screen
- Filter Tab
Selections can be filtered by Currency, Transaction Date From/To, Transaction Reference From/To, Agent From/To and by all or specific Agent Branch codes and/or Payment Types.
NOTE: The Currency is the minimum selection that can be made before the Search button becomes active.
- Analysis Tab
The Analysis Tab allows filtering by the 6 Analysis Codes attached to the Agent.
When the Analysis Tab is accessed, the available selections are in collapsed mode. Click the to expand the selections and the to expand a drop-down.
When selections have been completed, click the blue Search button or the Results tab and any creditor invoices found that meet the search criteria will display under the Results Tab.
- Results Tab
NOTE: The ![]() to the left of the Select All/Unselect All Buttons can used to hide the side panel. When the side panel is hidden, the Right Arrow is replaced by a Left Arrow
to the left of the Select All/Unselect All Buttons can used to hide the side panel. When the side panel is hidden, the Right Arrow is replaced by a Left Arrow ![]() which can be used to reveal the panel.
which can be used to reveal the panel.
The screen is in three sections. Any receipt transactions which match the filter criteria display in rows on the left of the screen and show the Agent Code, Receipt Reference, Transaction Date and the Amount.
- Results Tab - Transaction and Summary Details
The Transaction Details section on the right of the screen shows the values of the currently highlighted transaction.
The Summary Details section below the Transaction Details show the total transactions found and their value. The number that have been selected and their value.
![]()
About the Output Documents Fields
The Output Documents dialogue will display when Print is selected.
Default Format (Drop-down)
Select the required document template from the drop-down list.
Consolidate (Check-box)
Checking this box will output one line (the sum total of receipts for the agent) on the receipt, rather than lines for individual receipts.