This is the fourth of six tasks described in this user manual for changing
NOTE: The numbering is simply for reference - there is no particular order in which tasks need to be completed and, depending on the Booking, they might not all be needed.
The full list is:
- General Setup
- Pax Travelling
- Markup / Commission
- Booking Notes (this task)
- Agent Notes
- Recalculate Booking
There are Booking Notes and Agent Notes:
- Booking Notes allows free-format notes to be added to the Booking under a range of predefined Note Categories, which must first have been set up via Home > System > Code Setup > Messaging > Notes. Notes can be output on documents and messages to both agents and suppliers.
- Booking Notes will sort data by note category.
- Agent Notes allows viewing (read-only) of notes attached to the agent.
Insert a booking note
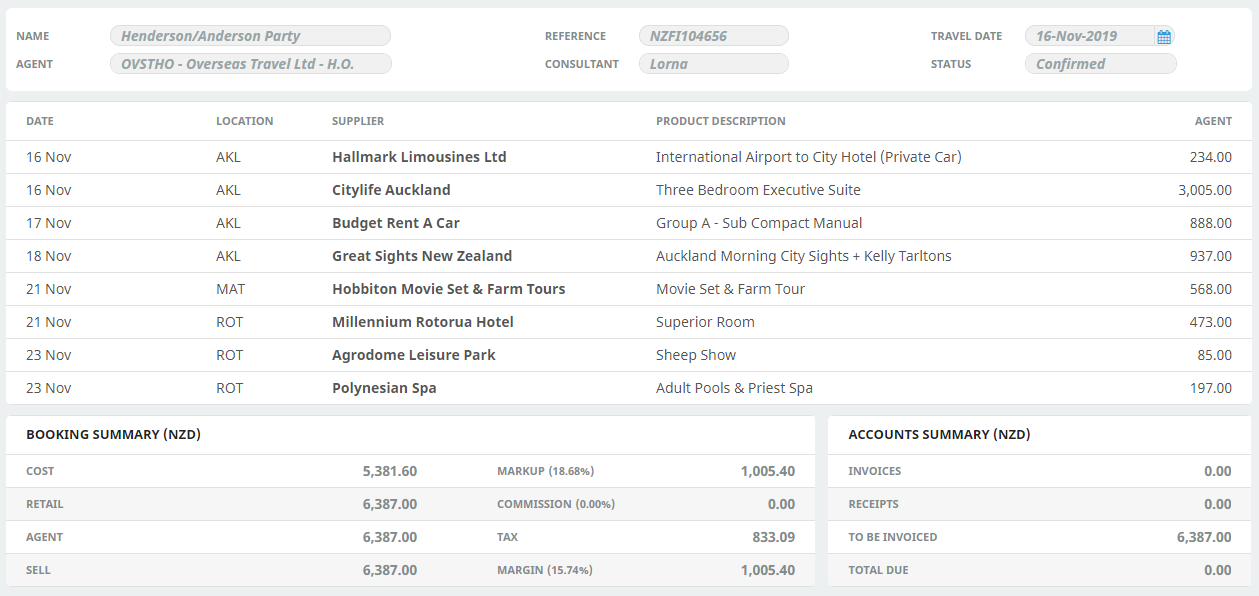
- If you haven't already done so, search for and retrieve a Booking to work with (see Retrieve an Existing Booking).
-
The default view for a Booking is the
 Dashboard View.
 To examine and work with Booking Notes, from the FITs menu, selectFITs > Booking Details > Booking Notes.
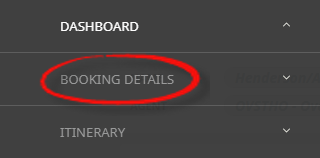
- Click the FITs hamburger menu to open it:

- Click the Booking Details menu option to expand it:

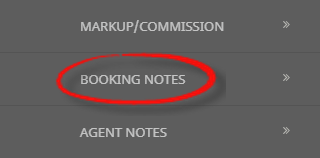
- Click Booking Notes to retrieve a list of notes attached to the booking (if any):

- Click the FITs hamburger menu to open it:
-
From the list ofBooking notes returned, click any existing note to open it. To add a note, click Insert.

-
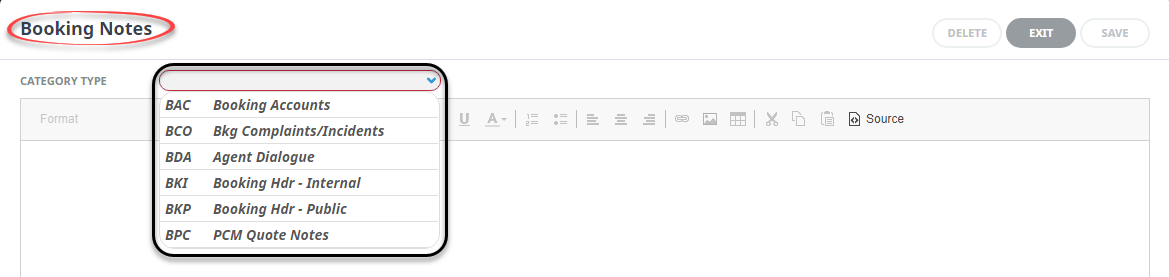
On theBooking Notes screen, choose a category type from the Category Type drop-down list.
-
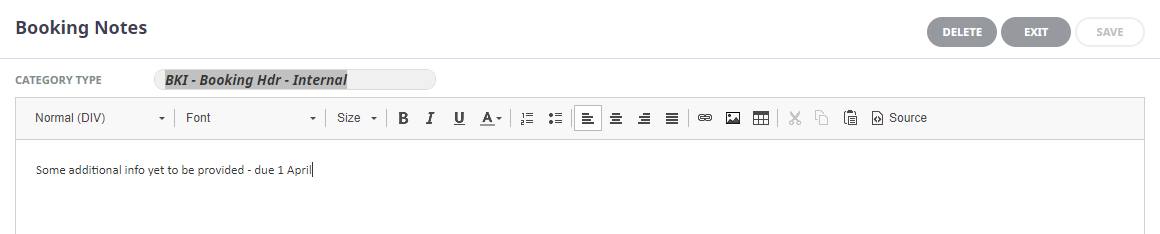
Enter text in the body of theBooking Note and format as required.
-
ClickSave to keep the changes.

-
ClickExit to discard any changes.


About Booking Notes Formatting Fields
The rich text editor section (or body) of the note is a blank page for the
The Editing screen has the following items:
| Format type | Format Option Descriptions |
|---|---|
| Format | Format of the text |
| Font | Font of text (will default from Tourplan INI Setting DEFAULTFONT) |
| Size | Font Size of text (will default from Tourplan INI Setting DEFAULTFONTSIZE) |
| Style, Font and Font Size. The available styles and fonts are defaulted from the INI settings noted above. Supported fonts are included in the System Setup User Manual - INI Settings DEFAULTFONT | |
|
|
Bold - highlight the text to be bold faced and click this button |
|
|
Italics - highlight the text to be italic and click this button |
|
|
Underline - highlight the text to underlined and click this button |
|
|
Colour of text – highlight the text to change the colour and click this button |
|
|
Numbered bullet points - click this button to create a numbered list |
|
|
Bullet points - click this button to create a bullet pointed list |
|
|
Left aligned text - click this button to justify text on the left margin |
|
|
Centre aligned text - click this button to centre text between the left and right margins |
|
|
Right aligned text - click this button to justify text on the right margin |
|
|
Insert a URL link – click this button to insert the text you want showing as a hyperlink and insert the required URL
|
|
|
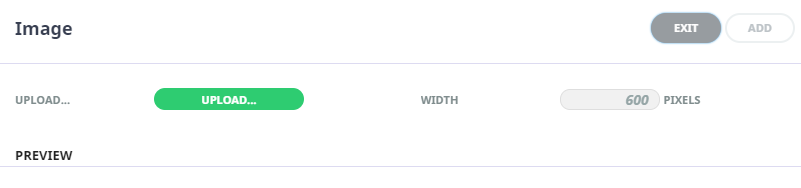
Upload an image – click the upload button to upload an image.
Locate the image file to Open, and select Add NOTE: Image size guidelines are determined by each user company’s procedures. |
|
|
Insert a table – click this button to insert a table |
|
|
Cut text (Ctrl+X), highlight text to be cut and click this button |
|
|
Copy text (Ctrl+C), highlight the text to be copied and click this button |
|
|
Paste text (Ctrl+V), place the cursor at the point where copied/cut text is to be placed and click this button |
|
|
Selecting this button will show the text editor in CSS styling source code |