Rate information is created and maintained from the Rates menu option, which is accessible from the Product Setup screen. When a product is first created, there is no rate data associated with it.
Add a Rate for a Product
- Make sure the product has already been created (see Insert an Accommodation Product).
- If the product is not already displayed, retrieve it (see Searching for Products or Suppliers).
-
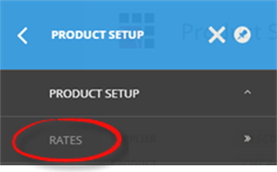
From the Product Setup menu, select
 Rates.

-
ClickInsert to add a new entry.

-
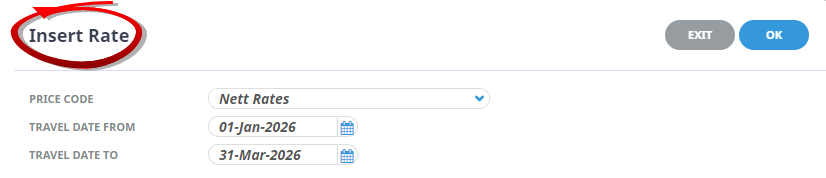
On theInsert Rate screen, select the appropriate Price Code from the drop-down list. Refer to About the Insert Rate Fields for more information on Price Codes.
-
Enter, or use the Calendar(s) to select, the appropriate Travel Date From and Travel Date To dates and click OK.
Once OK has been clicked on the Insert Rate screen, the dates as entered cannot be changed. They can be deleted, or split, but they cannot be edited. -
A rate must have a date range associated with it before it can be saved - theDate Range screen will appear automatically after clicking OK. Enter, or use the Calendar(s) to select, the Sale Date From and Sale Date To fields.
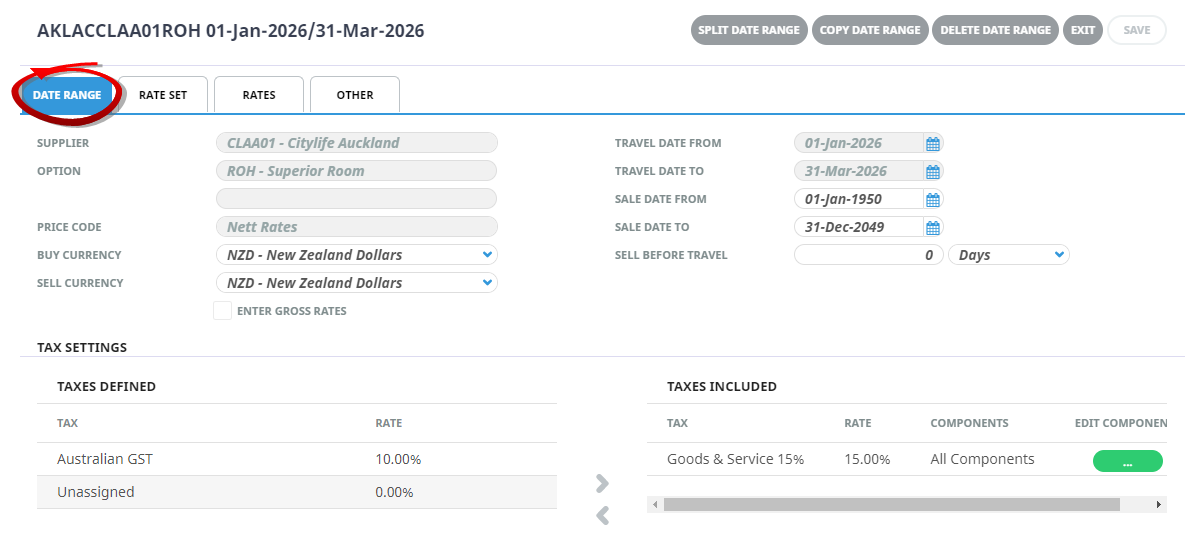
Refer to About Date Range Tab for more information on fields.
- Enter a number of days/months into the Sell Before Travel field (or leave it at 0 Days, which is the default).
-
ClickSave to keep the changes.

-
ClickExit to discard any changes.

About the Insert Rate Fields
Price Code
Select a Price Code from the drop-down list. Regardless of how rates are going to be marked up, there must be a Price Code selected in this screen. Without it, rates for different dates/seasons cannot be defined.
Travel Date From
The beginning date of the rate period. Once entered in the Insert Rate screen, it cannot be changed. It is displayed for information only.
Travel Date To
The expiry date of this rate period. Once entered in the Insert Rate screen, it cannot be changed. It is displayed for information only.